
In the world of plastic manufacturing and finishing, surface quality plays a crucial role in the aesthetic appeal, functionality, and value of end products. Whether you’re producing prototypes, decorative parts, or functional components, achieving a smooth, glossy surface can significantly enhance the visual and tactile quality of your parts. Vapor polishing is a highly effective technique used to create flawless, high-gloss surfaces on various plastics, offering a chemical-free, efficient, and eco-friendly alternative to traditional polishing methods.
This comprehensive guide aims to provide an in-depth understanding of vapor polishing, covering its principles, benefits, suitable materials, equipment required, step-by-step procedures, safety considerations, and tips for achieving optimal results.
1. What is Vapor Polishing?
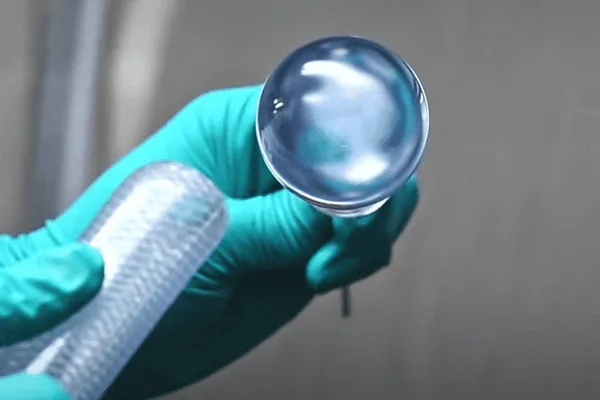
Vapor polishing, also known as solvent vapor polishing, is a surface finishing process where a controlled vapor of solvent or chemical agent is exposed to a plastic part, melting the surface microscopically. This controlled melting causes surface irregularities, scratches, and roughness to smooth out, resulting in a glossy, mirror-like finish.
Unlike mechanical polishing, vapor polishing doesn’t require abrasive materials or manual buffing. Instead, it uses the heat generated by solvent vapors to selectively melt the surface layer, flowing out imperfections and creating a smooth, reflective surface.
2. Benefits of Vapor Polishing
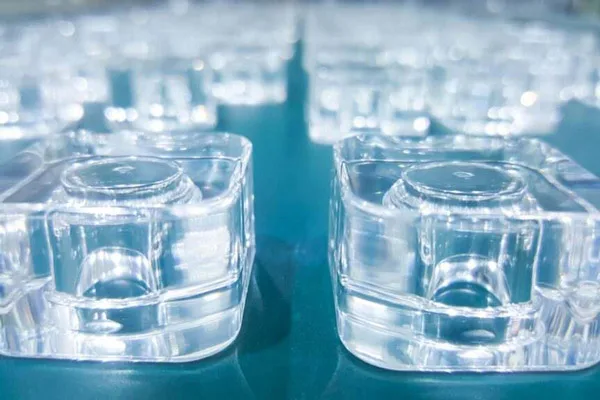
High-Gloss Finish: Produces a mirror-like, reflective surface that enhances aesthetic appeal.
Smooth Surface: Eliminates surface imperfections, scratches, and roughness.
Cost-Effective: Reduces labor, time, and equipment costs compared to manual polishing or coating.
Environmentally Friendly: Uses minimal solvents and produces less waste.
Preserves Part Geometry: Unlike abrasive polishing, vapor polishing maintains the original dimensions and features of the part.
Versatile: Suitable for various plastics such as ABS, acrylic, polycarbonate, and acrylic-based composites.
3. Suitable Materials for Vapor Polishing
|
Material |
Suitable Solvent(s) |
Notes |
| Acrylic (PMMA) | Methyl methacrylate (MMA), Acetone | Excellent results; widely used |
| ABS | Acetone, Methyl Ethyl Ketone (MEK) | Good gloss and smoothness |
| Polycarbonate | Methylene chloride, Acetone | Effective but careful to avoid over-melting |
| PVC | Methyl chloride, Acetone | Use with caution; some formulations may craze |
Important: Always test the solvent on a small sample or scrap piece of the same material before applying it to your actual part to ensure compatibility and desired outcome.
4. Equipment and Materials Needed
Vapor Polishing Chamber: A sealed enclosure or cabinet designed to contain vapor safely.
Heating Source: Usually a heating plate or heat gun to generate and control vapor.
Solvent or Chemical Vapor Source: Pure solvents like acetone, methyl methacrylate, or specialized vapor polishing compounds.
Protective Equipment: Gloves, goggles, respirator masks, and adequate ventilation to ensure safety.
Support Fixtures: To hold parts securely during the process.
Timer or Stopwatch: To control exposure duration.
 5. Step-by-Step Vapor Polishing Procedure
Step 1: Preparation
Clean the part thoroughly to remove dust, grease, or contaminants.
Secure the part in the vapor chamber or a controlled environment.
Ensure proper ventilation and safety measures are in place.
Step 2: Setup
Fill the vapor chamber with a small amount of solvent or place solvent-soaked pads in designated areas if using indirect vapor methods.
Set up the heating source to gently warm the solvent to produce vapors without igniting or over-heating.
Step 3: Vapor Exposure
Turn on the heat and begin generating vapors.
Carefully introduce the vapor to the part, ensuring even exposure.
Monitor the process to prevent excessive melting or deformation.
Step 4: Observation and Control
Observe the surface; the plastic will start to appear glossy as the vapor melts the surface layer.
Typically, exposure lasts from a few seconds to a couple of minutes, depending on material and desired glossiness.
Use a timer to keep track of exposure time.
Step 5: Cooling and Solidification
Once the desired surface finish is achieved, remove the part from the vapor chamber.
Allow it to cool in a well-ventilated area.
Avoid touching the surface immediately to prevent fingerprints or surface damage.
Step 6: Inspection and Post-Processing
Inspect the surface for uniformity and gloss.
Additional treatments like buffing may be unnecessary but can be applied for extra shine if desired.
6. Safety Precautions
Ventilation: Always perform vapor polishing in a well-ventilated area or under a fume hood.
Protective Gear: Use chemical-resistant gloves, goggles, and respirators to avoid inhalation or skin contact.
Fire Safety: Many solvents are flammable; keep away from open flames or heat sources.
Proper Storage: Store solvents in approved containers away from heat or ignition sources.
Training: Ensure personnel are trained in handling hazardous chemicals and emergency procedures.
7. Tips for Achieving Superior Results
Consistent Environment: Maintain stable temperature and vapor concentration for uniform finish.
Test First: Always run test pieces to optimize exposure time and solvent amount.
Control Exposure Time: Overexposure can cause excessive melting, deformation, or cloudiness.
Uniform Vapor Distribution: Use a sealed chamber or enclosure to ensure even vapor exposure.
Part Design: Parts with complex geometries may require multiple passes or localized vapor application.
Post-Processing: Light buffing or polishing can enhance gloss if necessary.
8. Common Challenges and Solutions
|
Issue |
Possible Cause |
Solution |
| Cloudy or Opacified Surface | Overexposure or high vapor concentration | Reduce exposure time and vapor intensity |
| Surface Melting or Warping | Excessive heat or vapor contact | Lower vapor temperature and exposure duration |
| Uneven Gloss | Inconsistent vapor distribution | Ensure uniform vapor flow and chamber sealing |
| Cracking or Stress Blemishes | Rapid cooling or over-melting | Allow gradual cooling and optimize vapor exposure |
9. Applications of Vapor Polishing
- Prototypes and Models: To improve visual appeal and surface finish.
- Decorative Parts: Enhancing aesthetics for consumer products.
- Optical Components: Improving clarity and surface smoothness.
- Medical Devices: Providing clean, glossy surfaces for easy sterilization.
- Automotive and Aerospace: For interior components requiring high-quality finishes.
 10. Conclusion
Vapor polishing is a powerful, efficient, and environmentally friendly method for achieving smooth, high-gloss surfaces on plastics. Its ability to enhance aesthetic appeal without altering the original geometry makes it a preferred choice in many industries. However, success depends on understanding the material compatibility, proper equipment setup, and careful control of process parameters.
By following the guidelines outlined in this comprehensive guide, manufacturers and hobbyists alike can master vapor polishing techniques, transforming rough or dull parts into visually stunning, professionally finished components that stand out in quality and appearance.