
It’s critical for plastic injection molded components to achieve a specific texture and appearance in some applications. The finished texture often influences the performance of the components when in service.
It’s essential for manufacturers to specify the requirements for the finish and texture when designing the mold and estimating the final costs for the project.
Why Does Surface Texture Matter?
When injected into a mold under high pressure, the resin conforms to the surface of the mold. If the mold surface is smooth, it produces a glossy part due to the way light reflects off the component’s surface.
Rough mold surfaces scatter the light, resulting in a part with a flat or dull texture and look. Glossy textures tend to highlight imperfections in the components, while matte textures hide them. As a result, it’s vital for mold surfaces to be as smooth as possible to achieve a glossy look free of imperfections.
In parts requiring a dull or flat texture, manufacturers must only avoid leaving tool impressions on the mold surface to prevent the appearance of imperfections.
Surface Texture & Friction
Surface texture affects the performance of molded components differently. A flat, rough texture creates friction which isn’t ideal for components like bearings or sliding contacts. A coarse texture in these components leads to rapid wearing, exponentially degrading the performance of these parts in applications.
In liquid transfer or dispensing applications, more friction increases the pumping load. More friction also makes components easier to grip. So, a rough texture is suitable for products like manual levers and hand tools, and a coarser texture is the ideal choice.
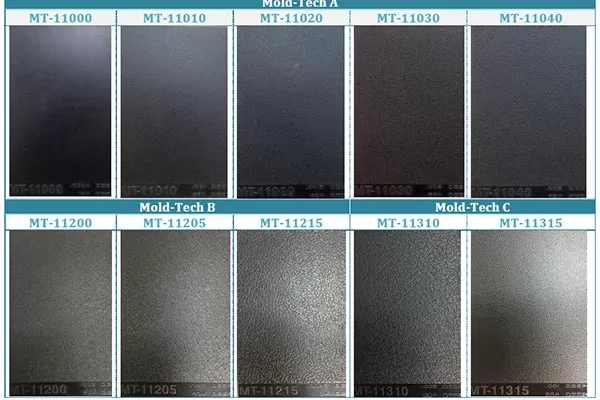
Mold tech A
Surface Texture & Light Scattering
The molded components’ surface texture also affects how light scatters through clear plastics. In parts like lenses, smooth textured surfaces mitigate the issue of light scatter. Most storage and dispensing products require optimal visibility allowing users to spot contamination, bubbling, or flowing of the liquids.
Defining Plastic Injection Molding Textures & Finishes
There are several ways of defining surface texture. The Society of the Plastics Industry (SPI) categorizes surface texture and finish using four grades, each represented by a letter.
- Grade A – These surfaces have the smoothest texture. Manufacturers achieve this grade through diamond buffing of the mold surface.
- Grade B – Manufacturers achieve this semi-gloss texture by finishing the mold surface with sandpaper.
- Grade C – These surface textures require sanding the mold with grit stones.
- Grade D – Manufacturers create this texture by blasting the mold with glass beads or sand.
Each finishing grade has several levels of texture. For instance, in Grade B textures, the manufacturer could finish the mold with 320, 400, or 600-grit sandpaper. Each grit provides a different texture to the final product. Mold surfaces may also come in the same condition after machining.
These machining marks may show on the final product surface, but that might not be an issue if these components are out of view. The type of tool steel used in mold production and polishing relates to the level of difficulty required to finish the mold surface.
Grade B finishes and lower usually feature P20 tool steel because this material polishes well. H13 tool steel is the best choice for Grade A finishes. Typically, achieving a smoother mold finish and a glossy product texture requires more work on the mold.
Selecting the Required Mold Finish Grade
A rule of thumb is to select the lowest-grade texture to meet client expectations for performance and appearance. This strategy mitigates the cost of mold production to create the desired mold finish and product texture. Surfaces out of view of the end user or client can be left unfinished unless specified through production instructions.